Tag Archives: Digital

Documenting Your Family | Photo Tips | Get On Their Level

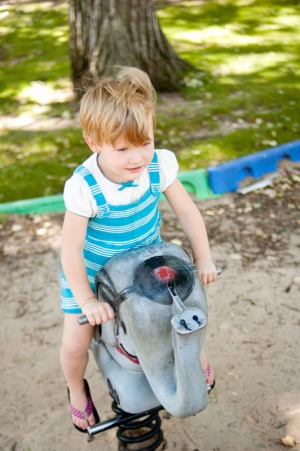
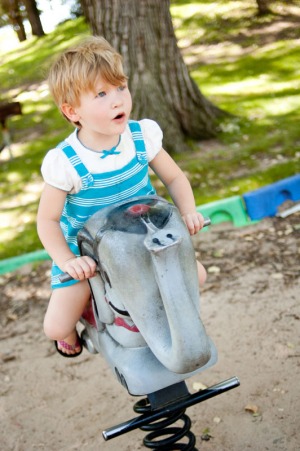
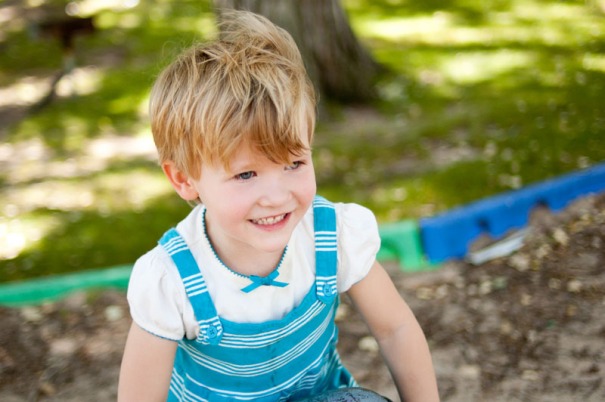
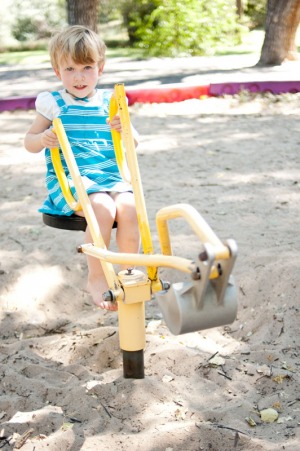
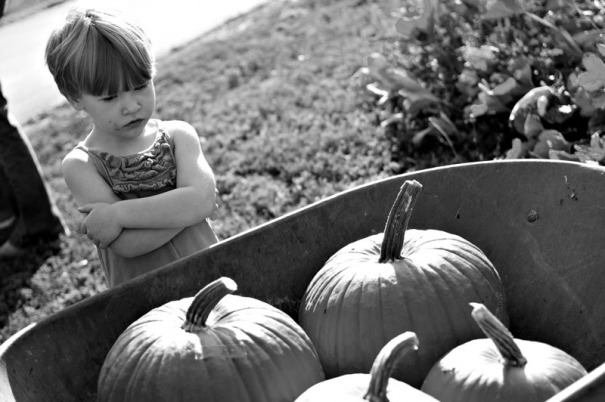
One of the keys to getting great pictures of kids, is getting down on their level. This simple step accomplishes a few things…

  • It opens your eyes to the way children see the world, and helps you relate to them.
  • It can give interesting backgrounds that mostly go ignored by us grownups.
  • It helps hold kids’ attention, as they are unaccustomed to having the big people look them in the eye.
  • It makes the little ones smile, they love watching us struggle to move around for a change.
  • It lets your camera really see into a child’s eyes, rather than looking up through their eyelashes

So what does moving down to the kid’s level mean from a technical perspective? Since you are lower and pointing your camera up, you are likely to have some sky or brightly lit background in the frame. This can trick your camera’s light meter and cause the images to be underexposed. Just be aware of this as you are shooting. If your camera allows, it might be a good idea to dial in some exposure compensation.

Another thing to consider is your clothing. When I work with kids, I almost always wear jeans or shorts because I am invariably kneeling, sitting or rolling around on the ground. This makes kids laugh, and keeps the atmosphere light, but it is hard on dress clothes.

Below are some pictures from a shoot with Molly. You will notice that I was moving up and down as I was shooting these. I was also moving in and out (with my feet, since I don’t really use zoom lenses). I think this is an important point – allowing the kids to move around, and you yourself moving around, keeps everyone animated and engaged.

You can click on any of the images to see them larger. Enjoy…

Tech Info:
Natural Light
Nikon D70s
Nikon 35mm f2
Adobe Camera Raw – no actions or filters

Arvada, CO | Documentary Portraits | Family Pumpkin Picking

Halloween is here again! I hope you have your pumpkin picked out.

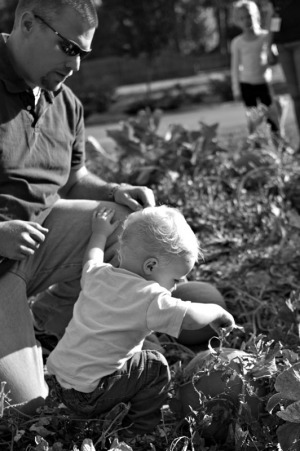
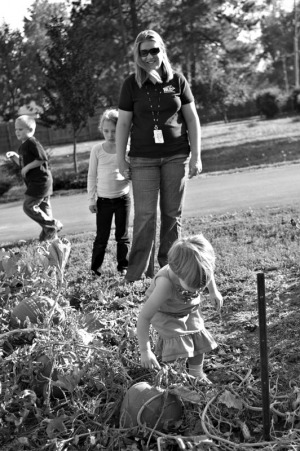
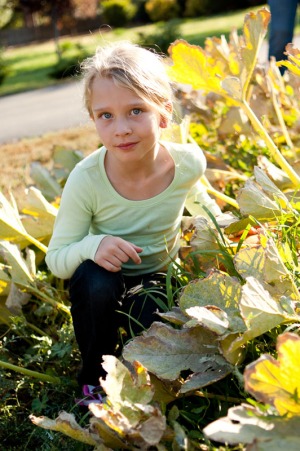
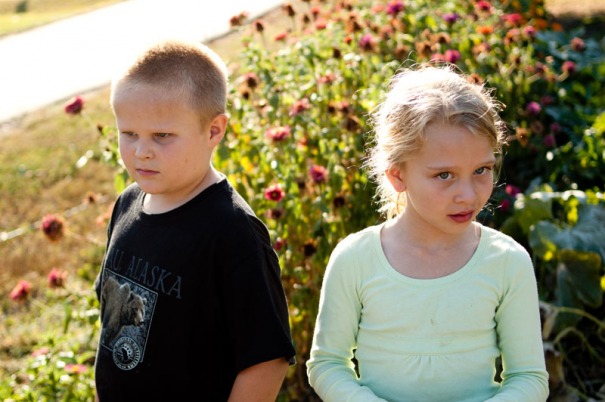
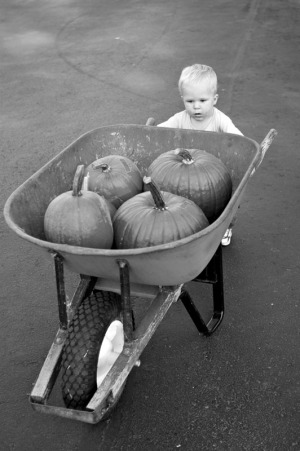
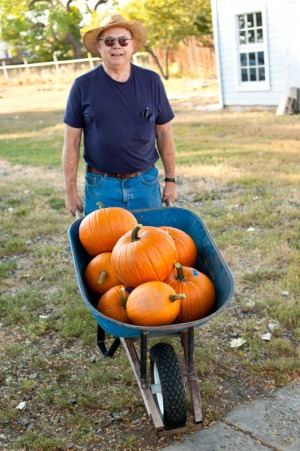
Below are some documentary pictures from our pumpkin picking adventure this fall. The whole crew went over to my Mom and Dad’s place where Dad has a big garden with a small pumpkin patch. The kids all got to pick out a couple of pumpkins and there were still a few left over to give to some of the kid’s friends.

I really like these pictures for a few reasons… first is the light. We did this in the late afternoon, so the light was warm and directional, perfect for these kinds of pictures. If you are scheduling a family event that might provide good photo-ops, always try to take advantage of the light at the end of the day.

Another thing that I like about these pictures is the authenticity. Everyone looks real. Julie and Luke just got out of work, so they are wearing their work clothes. Dad is pretty much always dressed just like this – jeans, pocketed t-shirt and a big hat (in the winter he adds a flannel shirt). It’s the end of the day, so the kids hair and clothes are messy, and they have stuff all over their faces – just as you would expect. These pictures really document our family, not some idealized version, our real family.

This kind of authenticity is what I always strive for in my documentary portrait sessions – family fun, real locations, natural light, comfortable clothing – perfect. So if you have a family event coming up that could benefit from some authentic documentation, give me a call.

You can click on any of the images to see them larger. Enjoy…

Tech Info:
Late afternoon light
Nikon D70s
Nikon 35mm f2.0
Adobe Camera Raw

Documenting Your Family | Photo Tips | Back-up Your Images

In Sunday’s Denver Post, buried at the back of the A&E section, was an important article on the challenges of archiving our audio history – http://bit.ly/cmPHOe. These are very similar to the challenges that we all face in archiving the digital images and videos that we are creating to document our families.

In my post last week, I talked about the importance of making prints. Of course, prints are the safest way of archiving your photos, but they don’t do much for videos or if you may want a larger print at some point in the future.

So, in addition to prints, it is imperative that you make digital back-ups of your images (videos). When you shoot pictures on your digital camera or cell phone, the images are saved on relatively stable memory cards. But these cards do “go bad” with no warning. Also, while these cards are in your camera, they hold the only copy of your images. This can be dangerous for a few reasons – loss, theft, breakage & card failure come to mind, so it is a good idea to get the images off of your memory cards as soon as possible. Don’t let them languish on the cards for months at a time.

As you copy the images from your memory cards, remember, you always need to have the digital images stored in at least two places at any given time. Digital data storage is a tricky thing. Drives can just fail with no warning and recovering the data is very expensive (if it is possible at all). Below is a look at my typical back-up workflow…

  1. Shoot, shoot, shoot – I rarely delete anything on the back of the camera. You never know when something in a picture may become important.
  2. Ingest, rename, and add ownership meta-data (I will cover this in a future post) to the images from my memory cards using PhotoMechanic. PhotoMechanic actually ingests the images to two different hard-drives (my primary “Images” drive and my “raw file” archive) at the same time. Automatically ensuring that I have saved the images to two different places – obviously, this is something that you could do on your own, PM just makes it really easy.
  3. At the end of my day, I kick off a system wide back-up. It makes a complete back-up of my entire system, including my “Images” drive. This ensures that I have updated back-ups of all the images that I have worked on that day. So, when this process completes, I have the images that I pulled off of my memory cards saved on at least three drives – raw file archive, Images drive, and back-up drive.
  4. The next morning, I come in and check that the back-up ran successfully. If it did, I go ahead and re-format my memory cards. Note: It is not good to have half used memory cards laying around. If you grab one and load it in your camera, you won’t know whether the images on it have been backed-up.
  5. A final step to consider is “off-site” back-up, which will cover you in the event of a fire or theft. There are a couple of ways that I handle off-site back-up. I upload a lot of our personal images to a Flickr account. This lets me share the pictures with friends and family and also lets me quickly order a bunch of prints. I also like to make CD/DVD back-ups of my “raw-file” archives and store them at a different location.

I know that the above series of steps seems like a big undertaking, and is probably overkill for many people. Documenting families and special events is my job as well as my personal hobby, so keeping those memories protected is something that I am passionate about.

For the average person, a few simple steps may be all that is required to keep your images safe…

  1. Get the images off of your camera and onto your computer
  2. Run a system wide back-up (you should have this for all of your valuable data, not just your images)
  3. Load your favorites to a photo sharing or printing web site
  4. Make prints

How are you protecting your images? I would be interested in hearing how others are working through these issues. Also, let me know if you have questions.

Tech Info:
Sigma SD9
Sigma 50mm f2.8 Macro
Natural light coming through an open door
f3.5 | 1/60 | ISO 100

Northglenn, CO | Documentary Portraits | Playtime Pictures

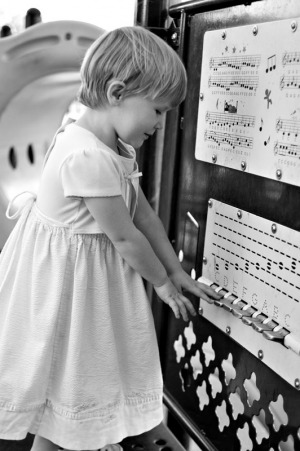
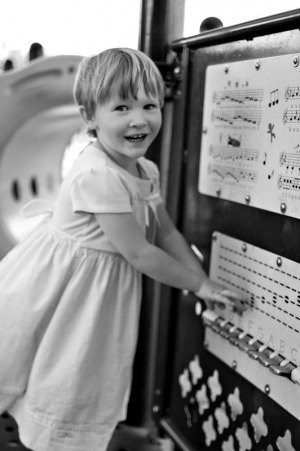
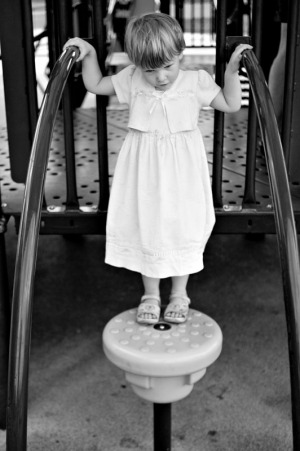
Here are some fun documentary portraits from a trip with Molly to E.B. Rains Jr. Memorial Park in Northglenn, CO.  I really like these pictures because they feel authentic, with great expressions and an interesting environment that adds to the image. The pictures were captured using just the available light, with no posing necessary. I really prefer to work in this way, especially with kids. Interacting and moving around beats sitting and saying “cheese” every time.

To get kids looking at the camera, just wait until they have slowed down to focus on something (like playing the “piano” below) and then say their name. They will look over, and you can snap the picture before they realize what you are doing. Once they realize, they may put on the big fake smile, or look away. It depends on the kid… and the day.

You can click on any of the images to see them larger. Enjoy…

Tech Info:
Nikon D70s
Nikon 35mm f2
B&W conversion in Adobe Camera Raw 5

Documenting Your Family | Photo Tips | Make Some Prints

I wanted to use today’s post to remind you to print your pictures. With the advent of digital photography, we are all shooting far more pictures than we ever have in the past. But I fear we are actually printing far fewer.

I know I am guilty of this, but it is something that I am consciously working on. I have actually moved back to film cameras for a lot of my photography, specifically so I can have a tangible document (a negative). It still makes me nervous that after shooting something on a digital camera, and going through all my back-up procedures (a topic for a future post), I really only have a bunch of ones and zeros on a magnetic disk (or two or three). My feeling is that if you don’t have a print, you don’t have a photograph. For this reason, all of my wedding and family portrait sessions include a complete set of real photographic proof prints.

One of the great things about digital photography is our ability to pick and choose the pictures we want to print. If you shoot fifty pictures at a birthday party, you don’t need to print all fifty, just pick your five favorites and print them. But, don’t forget to print them. The follow through is where we get into trouble.

I would recommend setting up an account with flickr (did you know you can order prints through flickr?), Costco, Adoramapix, Winkflash, Snapfish, or any of the other online print providers and start uploading your favorite pictures.  A quick tip  – the printing is cheap compared to the shipping, so wait until you have enough images to make it worth the shipping costs, or if you live near a Costco, you can order the prints online and pick them up at the store.

When documenting your family, it is critically important to have these memories archived in a tangible way. If you are shooting digitally, you no longer have negatives to fall back on, so prints are your best way to ensure that the memories you have captured will be visible for generations to come.

Tech Info:
Sigma SD9
Sigma 50mm f2.8 Macro
Window light
ISO 100, f4.0, 1/60

Documenting Your Family | Photo Tips | Get Closer

“If your pictures aren’t good enough, you’re not close enough.” – Photojournalist Robert Capa

Robert Capa was a war photographer who was well known for always being right in the middle of the action. He was killed by a landmine while photographing the First Indochina War, on May 25, 1954. His quote above is a reminder for us to get physically closer and become more intimate with those we are photographing. Capa did not accomplish this through the use of long lenses (not in common use prior to 1954), but through proximity.

Getting closer accomplishes a few things:

It lets us understand what is going on and lets our subjects get used to us being around and having a camera. If you stand on the edges of the action and use a long lens to capture images, this will often draw attention and even suspicion. If you are comfortable and involved, people will start to forget about the camera and you can document truly candid moments. Photographing your own family makes this really easy, you are a supposed to be there, all you have done is add a camera to the mix.

Getting closer and using a wide angle lens will allow you to incorporate background into an otherwise intimate photograph. This gives the image a sense of place and tells the viewer what was going on at the time the picture  was captured. This type of picture is often called an environmental portrait.

If you get close while using a normal or short telephoto lens (the max I routinely use is an 85mm) you are able to remove much of the background or turn it into a pleasing blur. This focuses the viewers attention on your main subject and can make for a powerful photograph.

Getting close and being involved with your subjects gives you far more options in terms of lighting and background/foreground elements. If you are standing back and shooting with a long lens, you are pretty much stuck with whatever light direction and elements happen to line up in your frame at the time the shutter is tripped. If your subjects are comfortable with you, and you can move in among them, you can position yourself so there is attractive light, a cool foreground element in the frame, or nice tones/colors in the background. The choice is yours, it is not being dictated by your location or your long lens.

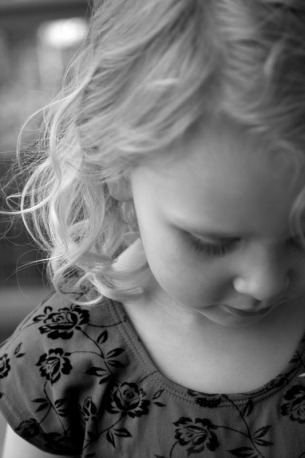
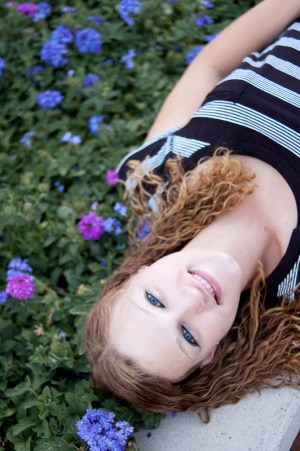
Finally, a note on cropping. As you can see in the image above, you do not always have to show a person’s whole head in a close up portrait. In this portrait, I was really interested in Emma’s wavy hair and the flower pattern in her shirt. I came in close with a 50mm lens (equal to an 85mm on 35mm film) and only shot the right side of her face and included her hair and her shoulder. What did this technique accomplish?  It brought attention to the elements that I was interested in documenting, it excluded the dark shadows on the left side of her face, and it created a pleasing off center composition. Also, the distracting background was reduced to a soft blur.

I hope you find these tips helpful, give them a try and let me know what you think.

Tech Info:
Sigma SD9
Sigma 50mm f2.8 Macro
1/350 sec, f/3.5, ISO 100
Converted to B&W in Adobe Camera Raw

Westminster, CO | Self Portrait | Set-Up & Execution

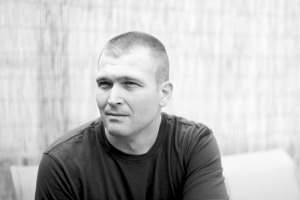
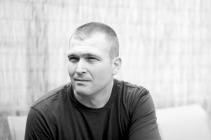
The image at left is a recent self portrait. To give you some ideas about things to consider before a portrait shoot, I thought I would try to give you some insight into my thought process on setting up this shot, and details about the actual execution of the shoot.

To start, I am not crazy about the typical “photographer holding a camera while looking in the mirror” self portrait. It can be very limiting in terms of both location and lighting. Instead, I wanted a portrait in a real location using available light. This is my standard operating procedure for any other portrait, why should a self portrait be any different?

As a location, I chose the back deck on my home in Westminster, CO. My family and I spent a good portion of the early summer refurbishing and adding on to the deck, so I thought it would be an ideal location. The north end of the deck is only a few feet from my neighbor’s yard, so we put up six foot reed fencing along this railing to provide privacy. The reed fencing served as the background that you see in the image. Now, if a fence on the north end of the deck served as the background, that tells us that I was facing South when the image was exposed. Normally this wouldn’t be an ideal lighting situation. Fortunately, I planned ahead and shot this image in the late afternoon, and my house blocked the direct light from the sun. So I was lit by the open sky, and fill light was provided by the light gray walls of my house.

For wardrobe, I chose a medium blue shirt. I wanted something that would separate from the background, but would not be too dark and contrasty. Also, I had a haircut a couple days before the shoot. If I go too long without a haircut, my hair naturally grows to a point and it starts to look like I am trying for a mohawk.

For this self portrait, I knew that I wanted to use shallow depth of field to blur the background and draw attention to my eyes and face. To accomplish this, I decide to shoot the image digitally. Using the self timer to expose the image, and shooting film, I wouldn’t know if the pictures were in focus until I got the film back from the lab.

To create the image, I set up my Nikon D70s on a tripod with a 50mm f1.4 lens attached. I set the ISO to 200, the aperture to f1.4 and the shutter speed to 1/1600 of a second. In the shot, I am sitting in a chair and leaning forward on our patio table (the table is not visible). I pre-focused the lens on the edge of the table and then recomposed the shot to cut out the table and give some room above my head. Finally, I set the self timer for 10 seconds, pushed the shutter release and ran over to my chair and sat down. I then leaned in and tried to position my eyes directly over the edge of the table. Before the shutter tripped I just needed to put on an expression that didn’t make me look like a total dork, no easy task. I eventually ended up going through this series of steps about ten times to get a few frames that I liked.

A couple of things that I particularly liked about this frame. I am looking off camera which seems a little more natural, and I only have a half smile, making me seem approachable but not too dorky. Also, this frame looks good as a horizontal (how it was shot), or cropped as a vertical or square…
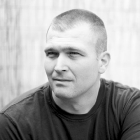
Jason Noffsinger Self Portrait This is something important to think about when you will be repurposing the image across the web.

You can view the image “in action” over here on my About page, or on my Facebook fan page.

Tech Info:
Nikon D70s
Nikon 50mm f1.4
ISO 200, f1.4, 1/1600
B&W conversion in Adobe Camera Raw

Documenting Your Family | Photo Tips | Turn Off That Flash

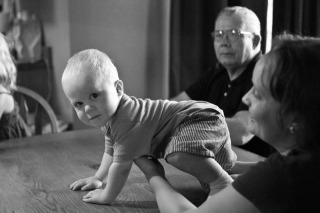
Red eyes, harsh glare, shiny foreheads, ugly reflections in the window – these are not the things memories are made of. That little flash built into your camera is the number one culprit in bad photographs. It’s intrusive and distracting, pulling attention away from the scene being photographed and toward the photographer. Think of it as a last resort. If you absolutely have to get a picture, and it is really dark, go ahead and use it. But how often is it that dark?

With the newer crop of digital cameras allowing the use of high ISO’s, and ever improving lenses that open up to wider apertures, we can shoot in dimmer and dimmer light without resorting to on-camera flash. Below are some tips to help you get the best photos you can using only available light:

  1. Crank up that ISO. You will see a lot written about the horrors of noise in your digital files, and you will see noise, no doubt about it. But most everyone has moved on to cameras with 8, 10, 12, or even 14 megapixels. This is much more resolution than you actually need for a 4X6 or 5X7 print. So even if the noise looks bad blown up huge on the monitor, it will be much less noticeable in an actual print.
  2. Brace yourself. When you are not using flash, you will have to use slower shutter speeds to let enough light hit the sensor to capture a properly exposed image. The problem with slower shutter speeds, is movement. If the camera moves while the shutter is open, you will get a blurry picture. Your mission is to minimize this movement. Stand as if you were on a moving train/bus, feet apart and knees slightly bent, and squeeze your elbows against your sides as you hold the camera. Ideally, there would be a wall nearby that you could lean against. Finally, gently press the shutter release, don’t mash it.
  3. Anticipate the action. Just like camera movement, subject movement will cause blurry pictures. The best way to counteract this is to pre-focus your camera on your subject and wait for a slight pause in their motion. This is especially important with kids, they are little balls of energy. Also, pictures with motion blur can be really interesting. They are much better than pictures that are simply out of focus. Embrace this.
  4. Learn to love black & white. When shooting with the available light, you are likely to have orange light from standard bulbs, green light from fluorescent bulbs, and blue light from the window all mixing together in one scene. Neutralize all these color casts by simply switching the image to black and white. One added benefit, the noise mentioned in tip one (above) looks much more like classic film grain once the image is converted to black & white.

As you practice these techniques, you will get much more comfortable shooting without the flash. You should also start to get more interesting images that look more like something you would see in a newspaper or magazine and less like a snapshot in a photo album.

Tech Info:
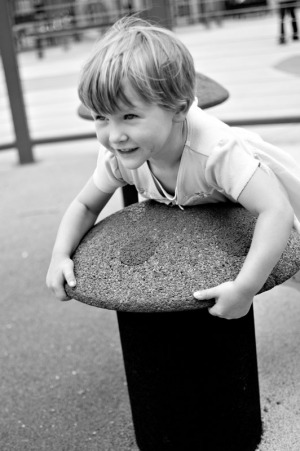
This is certainly not the greatest photograph that I have ever made, but I think is does a good job of illustrating the points mentioned in the blog post. Just click on the image to see it larger.
Nikon D70s (This is an old 6 megapixel DSLR)
Nikon 35mm f2 lens (An inexpensive fixed, non-zoom, lens that opens to a wide aperture)
ISO 1250 (This camera maxes out at ISO 1600)
No Flash
Mixed lighting – Window, standard light bulbs & fluorescent tubes
Converted to B&W in Adobe Camera Raw
Northglenn, CO | Senior Portrait | Breanna – Sneak Peek

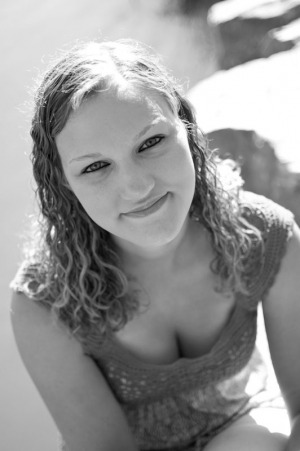
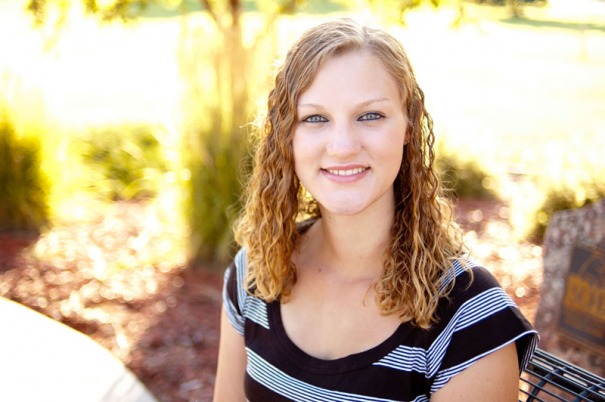
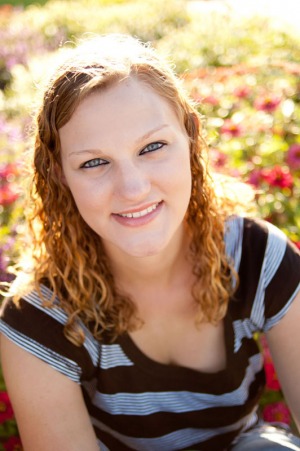
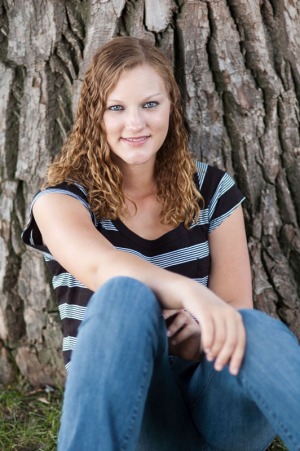
Here is a sneak peek of a Senior Portrait session that I shot this week at E.B. Rains Jr. Memorial Park in Northglenn, CO. Beautiful (and smart) young lady, cool locations and great light – what a fun afternoon.

These are just my digital “polaroids” from the shoot, but they looked so good I wanted to get them online. I am super excited to get the “real” pictures (shot on film) back from Richard Photo Lab.

Click on any of the images to see them larger. Enjoy…

Note: I will often use the digital “polaroids” to show my subject how everything looks before switching over to my film camera.

Tech Info:
Nikon D70s
Nikon 35mm f2 & Nikon 85mm f1.8 (against the tree)
Shot raw files and processed in Adobe Camera Raw (for CS5)
No Photoshop retouching or actions

Louisville, CO | Home Wedding | Reception Establishing Shot

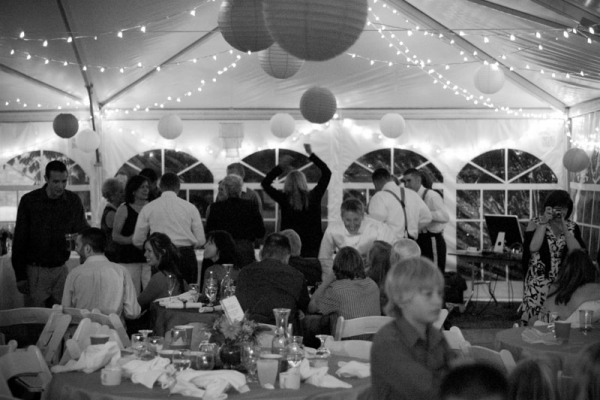
Below is an image from a cool at home wedding that I shot last year. This type of documentary photograph is often referred to as an “establishing shot”. It sets the scene and gives context to the rest of the images in the story you are trying to tell with your pictures.

I really like this image because it so neatly documents all of the different things that are going on at this wedding reception. First, there is the setting – white tent, lights, lanterns, etc. Next you have the groom in the white tuxedo shirt interacting with the guests. There is a woman off to the right taking pictures. Throughout the picture, you have people talking and laughing. In the foreground (out of focus) you have a young boy who is looking pretty tired. Over in the corner, you can see the DJ’s iMac set up and pumping out the tunes. But wait, it’s a photograph, how do we know there is music playing? Look dead center, there is a woman dancing with her arms raised. With the visual space around her, it is almost as if she is in her own little world – alone in a crowd. I find this last detail especially fascinating. Do you agree?

Click on the image if you would like to see it larger. Enjoy…

For more info of the elements of a photo story, check out this cool blog post…

Tech Info:
Nikon D70s
Nikon 50mm f1.8 AF
ISO 1600